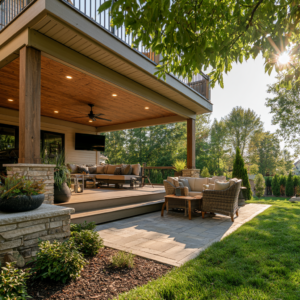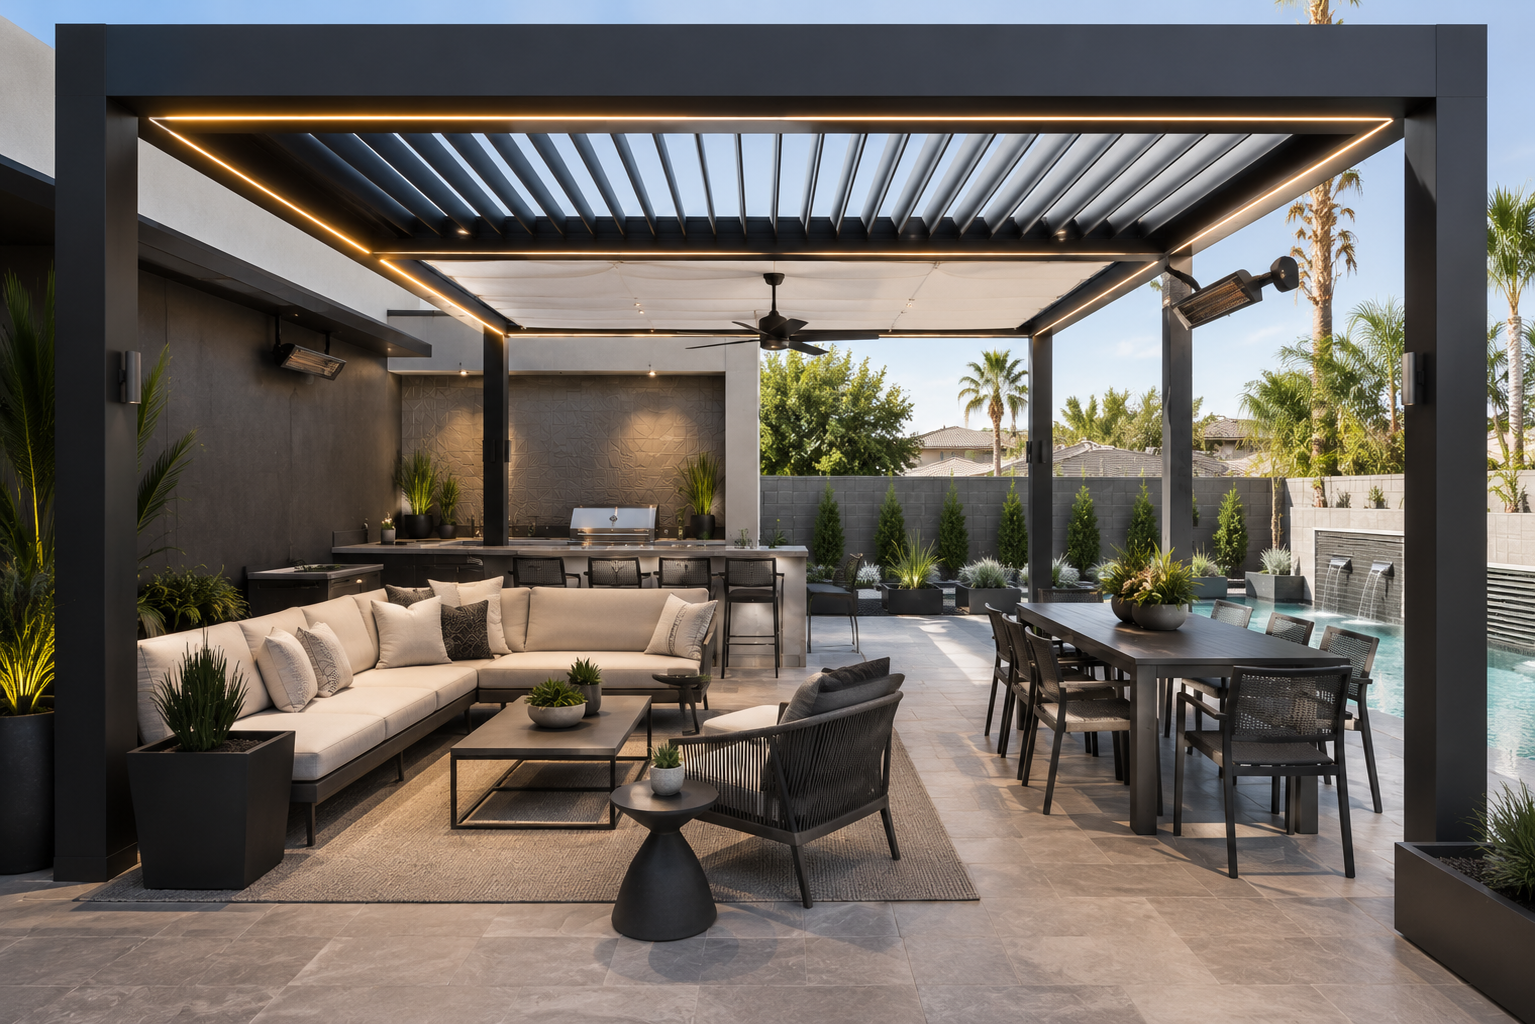
A gazebo or pergola can give your backyard a comfortable place to gather, but shade alone does not always provide the breeze you want. An outdoor fan can help move air through a dining or seating area, making the space more inviting on warm, still days.
Adding a fan takes more planning than choosing a style that matches your furniture. Outdoor exposure, structural support, blade clearance, and electrical access all affect whether a particular model fits your space.
The best gazebo or pergola fan starts with a suitable installation location. Confirm what your structure can support, where airflow will be useful, and how the fan will receive power before making your purchase.
1. Match the Fan to Your Outdoor Exposure
The words “gazebo fan” or “pergola fan” do not establish how much weather a product can withstand. Check the manufacturer’s rating and installation instructions for the exact model.
A gazebo with a solid roof may offer protection from rain, while an open-roof pergola can leave a fan directly exposed. Wind-driven rain can also reach beneath a covered structure.
- Damp-rated fans: Designed for protected locations where humidity is present but the fan is not directly exposed to water.
- Wet-rated fans: Designed for outdoor conditions involving direct water exposure, within the product’s specified limits.
Choose based on the conditions at the mounting point rather than the structure’s name. A retractable canopy or movable louvered roof should not automatically be treated as permanent protection.
Also check any restrictions related to salt air, freezing conditions, or seasonal exposure.
2. Confirm That the Structure Can Support a Fan
A beam may look substantial without being approved to support a rotating fixture.
This is especially important with manufactured aluminum pergolas and gazebo kits. Decorative roof members, thin metal sections, and accessory hooks should not be assumed suitable for a ceiling fan.
Pergola manufacturer Mirador explains that a convenient-looking beam is not necessarily an approved fan mounting point. Confirm compatibility with the structure manufacturer before drilling or adding hardware.
Depending on the system, you may need a designated fan beam, approved mounting accessory, or additional structural support.
The fan’s mounting instructions matter too. Hunter’s installation guide identifies approved attachment methods involving suitable structure or a ceiling fan-rated electrical box. An existing light-fixture box should not be assumed adequate for a fan.
If the structure’s capacity or attachment method is uncertain, have a qualified installer evaluate it before ordering.
3. Plan Airflow Around Your Furniture
The center of the roof is not always the most useful location for airflow.
Start with a simple layout showing the dining table, lounge furniture, walkways, and main entry. Identify where people spend the most time.
For example:
- A compact gazebo with one dining table may suit a single overhead fan.
- A long pergola with separate dining and lounging areas may benefit from two appropriately spaced fans.
- A space without an approved overhead mounting point may be better suited to an outdoor wall fan, provided suitable wall support is available.
These are layout options, not sizing rules. Check the fan manufacturer’s coverage recommendations and clearances before selecting a configuration.
Fans provide comfort by moving air across people; they do not refrigerate the outdoor space. The U.S. Department of Energy explains that air movement helps people feel cooler by supporting evaporation from the skin. Positioning the fan where that breeze reaches occupants is therefore more useful than directing it toward an unused corner.
4. Check Height and Blade Clearance
Measure the available space before deciding on blade diameter or downrod length.
Account for:
- Finished floor height.
- The proposed mounting point.
- The fan’s assembled drop.
- Nearby beams, posts, and roof braces.
- Curtains, lights, and other accessories.
- Moving louvers or retractable canopy components.
Hunter’s outdoor fan guidance specifies at least 7 feet between the floor and the lowest part of the fan blades. Treat this as manufacturer guidance, not permission to ignore a model’s greater clearance requirements or applicable local rules.
A low-profile fan may help where height is limited, while a taller structure may require an approved downrod. Confirm that the chosen mounting arrangement works with the roof slope and outdoor exposure.
Do not choose a larger fan simply because it fits between the posts. The blades also need the clearances specified in the installation manual.
5. Compare Mounting Options
Different structures call for different approaches.
| Mounting option | When to consider it | What to confirm |
| Low-profile ceiling fan | Limited overhead height | Approved mounting surface and required airflow clearance |
| Downrod-mounted ceiling fan | Taller roof or beam location | Compatible downrod, mounting angle, and blade height |
| Outdoor wall fan | Directional airflow or limited overhead options | Structural attachment, outdoor rating, and operating clearance |
| Purpose-built hanging fan | A product designed for an approved hanging installation | Compatible support, retention method, and power arrangement |
A plug-in or hanging product still needs proper support. Convenience features do not eliminate the need to follow the fan and structure manufacturers’ instructions.
For louvered pergolas, verify the full movement of the roof before finalizing placement. The fan, wiring, and mounting hardware must remain clear of moving components.
6. Arrange Power Before Installation
A detached gazebo may have very different electrical needs from a pergola attached to the house.
Before buying, identify whether the fan requires a hardwired connection or uses a manufacturer-approved plug-in arrangement. Then have a qualified electrician assess the power supply, outdoor wiring method, controls, and any required protection.
Plan these details early:
- Where wiring will enter the structure.
- How it will be routed and protected.
- Where switches or controls will be located.
- Whether the fan and light need separate operation.
- How maintenance access will be preserved.
Do not assume that an ordinary extension cord or a nearby lighting circuit provides a suitable permanent solution.
Some fans have approved alternative mounting and power systems. Their compatibility is product-specific, so verify the complete arrangement rather than improvising a cord connection.
7. Coordinate Fans With Curtains and Lighting
Fans, curtains, and lights often share the same limited space beneath a gazebo or pergola.
Keep loose fabric outside the fan’s operating envelope, including when curtains move in a breeze. Plan tieback locations so gathered panels remain clear.
Check pendant lights, string lights, and other accessories against the required fan clearances. If the structure includes a heater, consult both manufacturers’ instructions before positioning the equipment near one another.
Controls deserve attention as well. A remote can make an overhead fan convenient to operate, but confirm outdoor suitability and compatibility. Do not substitute an ordinary lighting dimmer for a fan controller unless the manufacturer specifically permits it.
Build the Plan Before Choosing the Finish
A successful fan installation begins with four decisions: the right outdoor rating, approved structural support, useful airflow placement, and suitable power.
Once those are settled, compare appearance, noise, speed settings, lighting, and controls. That order helps you choose a gazebo or pergola fan that looks appropriate and makes the space more comfortable to use.
Sources